
Kivy on the Raspberry Pi
16 Mar 2016
What is Kivy?
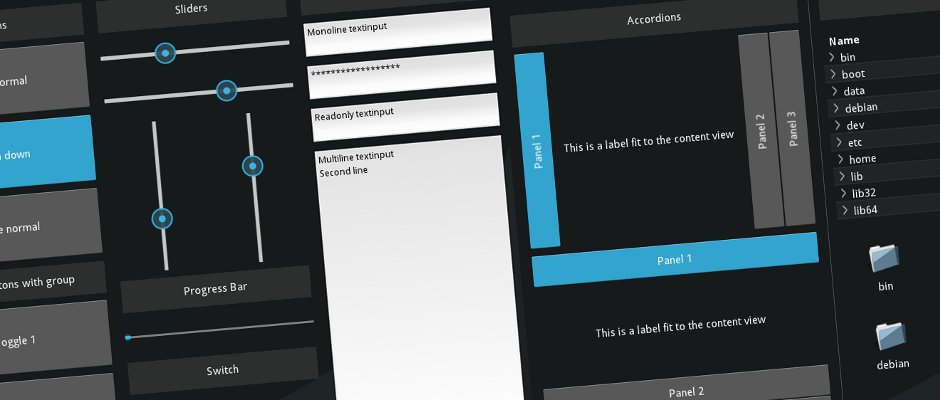
Kivy is an amazing, cross-platform user interface toolkit for python. It enables you to create sleek, stylish, modern and mobile-friendly interfaces like these shown below.
Using it with Raspberry Pi:
Amongst Windows, Mac, Linux, Android and iOS, Kivy is able to run well on a Raspberry Pi. I have been interested in getting it to work on the Pi since the release of the offical Raspberry Pi touchscreen a few months ago.

Whilst kivy works well on the Pi, installation is far less straightforward; requiring the manual entry and installation of dependencies. This prompted me to write a useful script that automates the entire process (based upon the documentation by Kivy and Matt Richardson of the Raspberry Pi Foundation).
Installing Kivy
As mentioned earlier, with the script, installing Kivy is easy. It will however take some time to run, as many dependencies need to be satisfied, so I'd reccomend making a drink and finding something else to do whilst the script runs :)
First of all, you'll need to clone the repository on GitHub:
git clone "https://github.com/ElectronicsGeek/Kivy-Raspberry-Pi-Installer"
After that, you'll want to use chmod so that you can execute the script. Simply type:
chmod +x install_kivy_rpi
Following this, run the script using sudo:
sudo ./install_kivy_rpi
Then, be paitent!
OPTIONAL: Setting up the Offical Touchscreen
If you intend to use Kivy with the official Pi touchscreen, you may wish to follow these steps.
Open the kivy configuration file with nano or other text editor of choice:
nano ~/.kivy/config.ini
And enter the following in the [input] section
mouse = mouse
mtdev_%(name)s = probesysfs,provider=mtdev
hid_%(name)s = probesysfs,provider=hidinput
What's next?
In the next article, I'll go through how to get started with Kivy! Stay tuned!
In the meantime, you may want to check out Alexander Taylor's excellent Kivy Crash Course video series on youtube
Image Credits:
Official Pi Touchscreen - Pimoroni